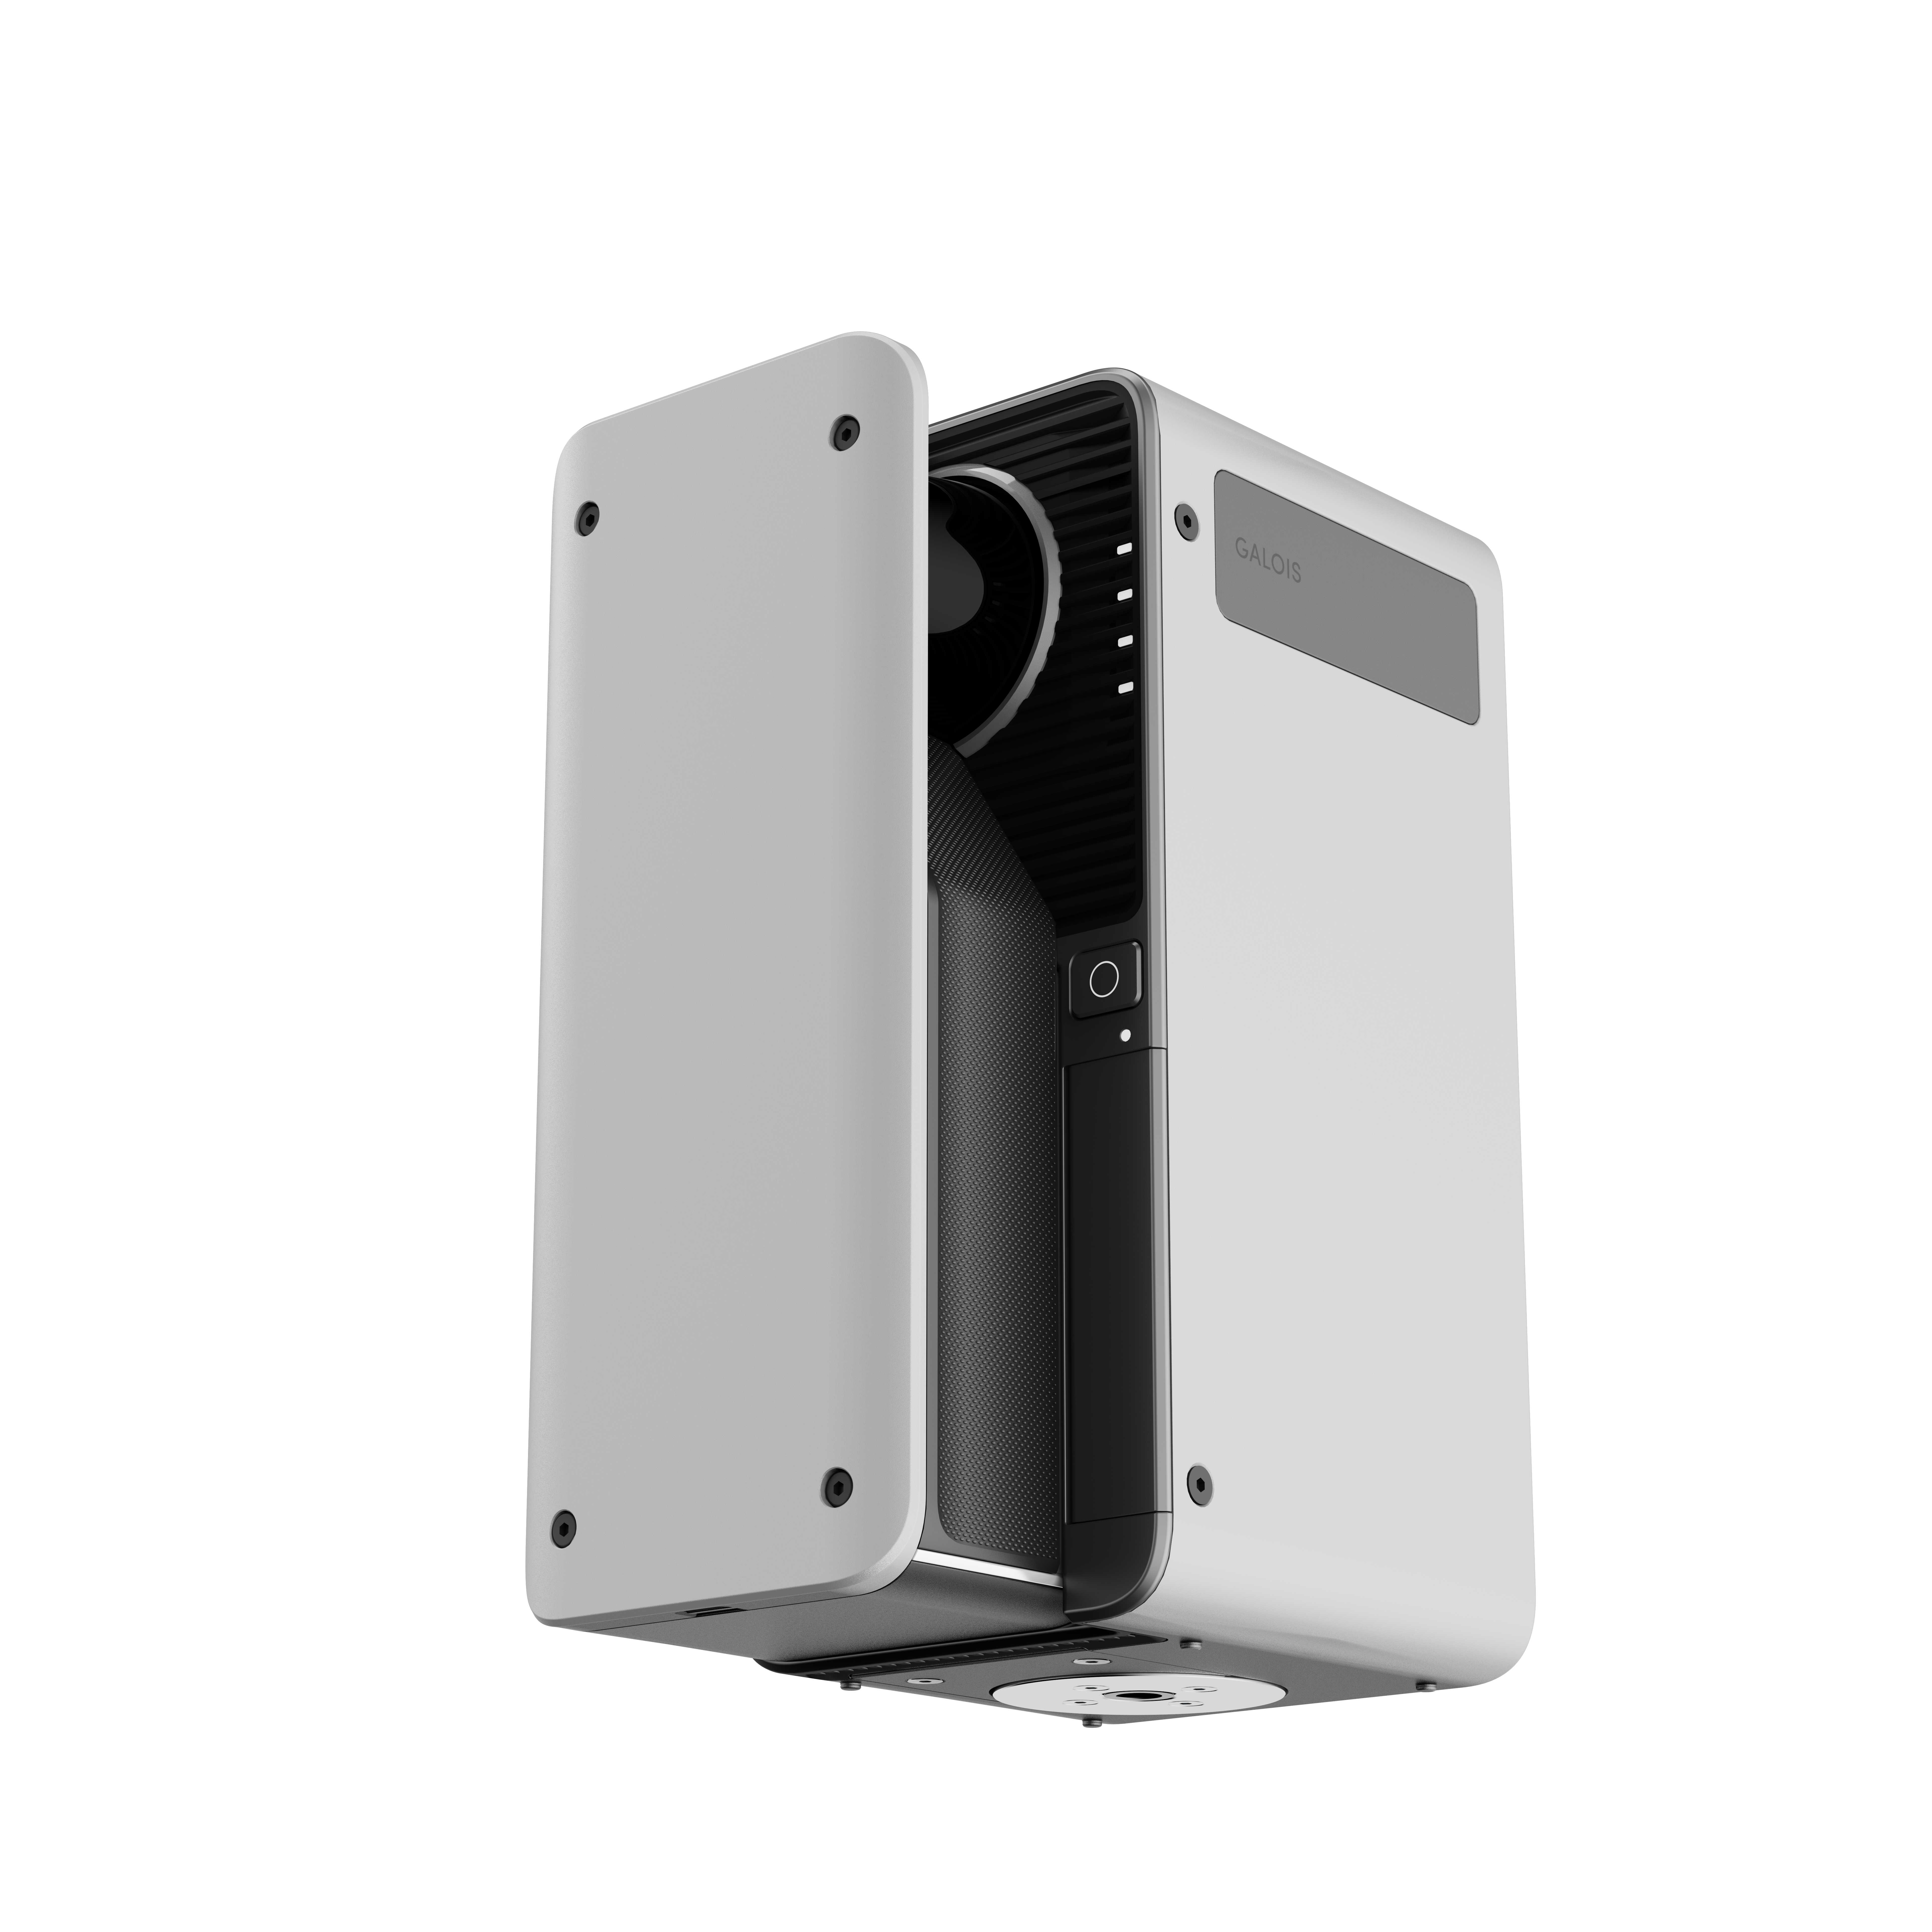
Most clients think of a virtual tour as a marketing tool — something for the website, for Google Business Profile, for sales. That is one use. But the same visit that produces the 360° tour also produces a LiDAR point cloud: the raw material for the scan to Revit workflow that architects, engineers, and BIM teams use to create accurate as-built models of an existing building. The scan is done once. The data serves multiple purposes — virtual tour, measured floor plans, and a full Revit model if the project needs one.
Quick takeaways
- Scan to BIM converts a 3D laser scan of an existing building into an as-built model in Autodesk Revit — replacing manual measurement entirely
- LiDAR point cloud data is accurate to 20mm — suitable for Revit BIM modelling and architectural drawing production
- Point cloud data is delivered in .e57 and .las formats compatible with Revit, AutoCAD, and Navisworks
- One scan session delivers a navigable 360° tour and a point cloud — two deliverables from a single visit
What is scan to BIM?
Scan to BIM is the process of capturing an existing building with a 3D laser scanner and converting the resulting point cloud data into a building information model — an intelligent 3D model in which walls, floors, doors, and structural elements are real, data-carrying objects rather than just lines. Scan to Revit is the most common form of the workflow, because Autodesk Revit is the dominant BIM platform among UK architects and engineers.
The point matters because design and construction decisions are only as good as the survey beneath them. Older buildings rarely match their original drawings — and many have no drawings at all. A scan to BIM workflow replaces manual measurement with laser-measured reality, producing an accurate as-built model of the building as it stands today: the reliable starting point for renovation, fit-out, or retrofit design. Kept up to date, the same model can serve as a digital twin of the building for facility management.
What the scan actually produces
See3D uses a LiDAR-enabled scanner that captures two things simultaneously at each scan position: a 360° panoramic image at 134 megapixels, and a structured-light LiDAR point cloud of the surrounding geometry. Unlike photogrammetry, which reconstructs geometry from overlapping photographs, every point in a laser scan is a direct distance measurement — which is why scan data holds its 20mm accuracy across an entire floor plate.
The 360° imagery becomes the virtual tour — the navigable, shareable, embeddable visual record. The LiDAR data becomes the point cloud: millions of georeferenced points that together define the precise three-dimensional shape of every surface in the space. From this point cloud, floor plans, elevations, sections, and a full BIM model can be produced — without any further site visits.
For architects working on an existing building, this is a significant workflow change. Traditional existing conditions surveys require a surveyor to take hand measurements with a laser distancemeter, transcribe them into a drawing programme, and then check for errors — a slow process prone to mistakes that only become apparent late in the design phase. A 3D scan replaces the measurement phase with a single session and removes manual transcription entirely.
How the 3D scan to Revit process works
The scan to BIM process runs in five stages, from site capture through the point cloud to BIM conversion to a quality-checked Revit model:
- On-site 3D scanning. The laser scanner captures the building from a planned series of positions, recording panoramic imagery and LiDAR measurements of the site conditions as found — including areas with no existing documentation.
- Point cloud registration. The individual scans are aligned into a single registered point cloud and exported in .e57 or .las format. This registered dataset is the master record of the building's geometry.
- Import into Revit. The point cloud is indexed through Autodesk ReCap and linked into Revit. Large point cloud datasets are linked rather than embedded, which keeps the Revit model responsive even with billions of points behind it.
- Modelling from the point cloud. Working within Revit, the BIM modeller traces walls, floors, ceilings, openings, and structural elements directly from the point data — converting point cloud data into native Revit objects rather than working from site sketches.
- Quality assurance. The finished model is checked back against the scan data, with deviations measured and flagged, so the design team knows exactly how closely the resulting Revit model follows the building.
This is also the answer to a question we hear often: can you just import an image or a CAD file into Revit instead? You can — Revit accepts DWG files and images as tracing references — but a flat reference carries no height data and no guarantee of accuracy. Only a point cloud gives the modeller measured, three-dimensional geometry to build from.
From point cloud to floor plan
The most common deliverable requested alongside a virtual tour is a set of measured floor plans. These are produced by loading the registered point cloud into CAD or BIM software, taking a horizontal section at the appropriate height through the point cloud, and tracing the wall, door, and window positions that the points define.
Because the points represent actual laser measurements of the surfaces, the resulting floor plan is as accurate as the point cloud — 20mm in most interior conditions. This compares favourably with hand survey, where tolerances of 50–100mm are common and inconsistencies between rooms can compound across a complex floor plan.
For buildings that don't have existing drawings — older commercial properties, converted industrial spaces, Victorian terraces repurposed for office use — scan-derived floor plans are often the first accurate drawings the building has ever had.
Building the as-built Revit model: levels of detail
The scan to Revit workflow begins with the point cloud as the reference geometry. The point cloud is linked into Revit and the BIM modeller traces architectural elements — walls, floors, ceilings, structural elements, openings — from the point data rather than from site sketches or hand measurements.
This produces a Revit model of the existing building (often called the "existing conditions model" or as-built model) that the design team can use as the starting point for proposed works. The model reflects the building as it actually is — not as it was designed to be, which for older buildings can be significantly different.
See3D delivers the point cloud in .e57 and .las formats. From there, the architect's BIM team or specialist BIM experts produce the Revit model to the Level of Development (LOD) required for the project. LOD 200 (approximate geometry) is sufficient for most early-stage design work; LOD 300 (precise geometry, dimensions confirmed) is used where the BIM model drives detailed drawing production, clash detection, and construction coordination. Higher levels add MEP and structural discipline detail where the project demands it.
Who uses scan to Revit and when
Architects and interior designers working on fit-outs, refurbishments, or change-of-use projects use existing conditions models to design against the actual space geometry rather than estimated dimensions.
Project managers on complex renovation projects use the point cloud to check as-built against design — detecting whether construction has been executed to drawing before the next trade starts work.
Facilities managers maintaining large estates use persistent point cloud data as a spatial record of the building — useful for planning maintenance access, documenting plant locations, and managing asset changes over time as part of a facility management strategy.
Structural and M&E engineers use the point cloud to verify structural element positions, check ceiling void dimensions, and coordinate services routing without additional site visits.
The challenges of 3D scan to Revit — and how they're overcome
File size. Large point cloud datasets run to tens of gigabytes, and capturing large amounts of data is only useful if the design team can work with it. The standard solution is linking the indexed point cloud into Revit by region rather than importing it wholesale, so the model stays responsive on ordinary workstation hardware.
Complex geometries. Period mouldings, curved walls, and irregular structures are difficult to model as native Revit elements. In practice, the modeller and client agree simplification rules up front — what gets modelled precisely, what gets approximated, and what stays point-cloud-only as a visual reference within Revit.
Occlusions. Furniture, stock, and plant equipment block the scanner's line of sight. Scan positions are planned to minimise shadows, and any genuinely hidden areas are documented honestly rather than guessed — a discipline a hand survey rarely matches.
Modelling skill. The conversion of point cloud data into a clean, well-structured building information model is specialist work. An inexperienced modeller can produce a model that looks right but is unusable for coordination. This is why the scan and the modelling are often handled by different specialists — capture by a scanning provider, modelling by BIM experts.
How much does scan to BIM cost?
Scan to BIM services in the UK are priced on four factors: floor area, the required LOD, the disciplines included (architecture only, or structural and MEP as well), and programme. The scan itself is the smaller component — modelling time grows with detail, so an LOD 300 model of a complex building costs materially more than an LOD 200 massing of a simple one.
See3D quotes the scanning and registered point cloud as a fixed fee per property, with 2D floor plans, elevations, and sections available as add-on deliverables. Full Revit modelling is quoted per project through our specialist BIM partners, so you get one coordinated price for capture and modelling rather than two contracts to manage.
One scan, multiple deliverables
For many projects, both deliverables are useful but serve different audiences. The 360° virtual tour goes to the marketing team, the property management team, or the client. The point cloud, floor plans, and Revit model go to the design team. All of it comes from one scan session, one site visit, one invoice.
This is the most efficient structure for any project where both a spatial visual record and measured drawing data are required — which describes most commercial fit-out, renovation, and change-of-use projects. Get in touch to discuss your project and we'll advise on scan scope, point cloud deliverables, and BIM modelling for your specific workflow.